Home Blog Page 14

Christmas Crack Crockpot Christmas Crack

0

For many, the idea of gifting homemade candy during the holiday season sounds like a dream. However, let’s face it: the holiday season is bustling, and not everyone has the time or energy to invest in elaborate recipes. If you’ve always wished you could be one of those people handing out delectable homemade treats without spending hours in the kitchen, then you’re in luck!

Introducing: Crockpot Christmas Crack. This recipe is a game-changer for festive treat-making. Having been an avid Christmas treat creator for over twenty years, I can confidently say this is the simplest and quickest candy recipe I’ve come across.

Why this recipe is a holiday favorite:

Simplicity: Toss the ingredients into the crockpot, wait, stir, and spoon them out to cool. If you’re feeling particularly extravagant, use mini cupcake liners for an elegant touch.

Taste: With a blend of chocolates, peanuts, and peanut butter, this candy offers a rich, nutty, and delectable flavor. It’s reminiscent of candies from a premium confectionery.

Quantity: The recipe yields an ample amount, making it perfect for gifting. Share the festive cheer with family, friends, neighbors, colleagues, and anyone you want to bring a smile to this holiday season.

Ingredients:

1 – 16 oz jar unsalted peanuts

1 – 16 oz jar salted peanuts

1 – 12 oz bag semi-sweet chocolate chips

1 – 12 oz bag milk chocolate chips

2 – 10 oz bags peanut butter chips

2 – 1 lb packages white almond bark or vanilla candy coating

Instructions:

In a large crockpot, start by layering the peanuts at the bottom.

Continue layering the rest of the ingredients.

Set the crockpot to low heat, cover it with a lid, and let it sit undisturbed for 2 hours.

After 2 hours, remove the lid, give the mixture a thorough stir, ensuring everything is well-combined.

Cover the crockpot again and let it sit for an additional 30 minutes.

Stir one last time, and then spoon out the mixture onto wax paper or non-stick aluminum foil.

Allow the candy to harden for at least an hour.

Voila! Your delicious Christmas Crack is ready to be savored and shared. Indulge in this treat, gift it to loved ones, and relish the festive spirit without the extensive kitchen hours!

Wet Burritos

0

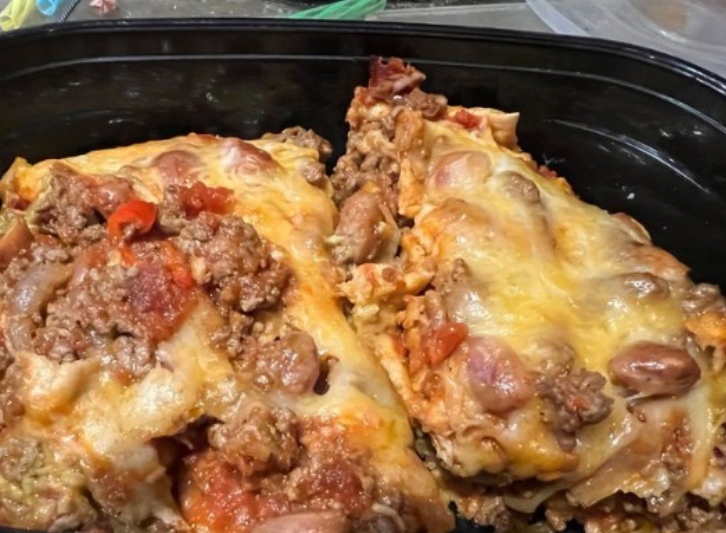
Saucy Satisfaction : Wet Burritos Get ready to dive into a plate of saucy satisfaction with these indulgent Wet Burritos. These burritos take all your favorite Mexican flavors and wrap them in a warm tortilla, then smother them in a flavorful enchilada sauce and melted cheese. It’s comfort food at its finest, perfect for a family dinner or when you want to treat yourself to a hearty, savory meal. Prepare to enjoy the saucy satisfaction of Wet Burritos.

INGREDIENTS

For the Burrito Filling:

1 pound (450g) ground beef

1 small onion, diced

2 cloves garlic, minced

1 cup (185g) cooked rice

1 can (15 ounces) black beans, drained and rinsed

1 cup (120g) shredded cheddar cheese

1 teaspoon chili powder

Salt and pepper to taste

For the Enchilada Sauce:

1 can (10 ounces) red enchilada sauce

1/2 cup (120ml) beef or chicken broth

1 teaspoon ground cumin

1/2 teaspoon garlic powder

Salt and pepper to taste

For Assembly and Topping:

4 large corn or flour tortillas

1 cup (120g) shredded cheddar cheese

Fresh cilantro and diced onions for garnish (optional)

DIRECTIONS

For the Burrito Filling:

In a large skillet over medium heat, cook the ground beef until browned and crumbled. Drain any excess fat.
Add the diced onion and minced garlic to the skillet with the cooked beef. Sauté for a few minutes until the onion is soft.
Stir in the cooked rice, black beans, shredded cheddar cheese, chili powder, salt, and pepper. Cook for an additional 2-3 minutes until everything is heated through and well combined. Remove from heat.

For the Enchilada Sauce:

In a separate saucepan, combine the red enchilada sauce, beef or chicken broth, ground cumin, garlic powder, salt, and pepper. Heat the sauce over medium heat, stirring occasionally, until it’s warmed through. Remove from heat.

For Assembly and Baking:

Preheat your oven to 350°F (175°C).
Place a tortilla on a clean work surface. Spoon a generous portion of the burrito filling into the center of the tortilla.
Fold in the sides of the tortilla and roll it up tightly to encase the filling. Place the filled burrito seam-side down in a baking dish.
Repeat this process with the remaining tortillas and filling.
Pour the warm enchilada sauce over the assembled burritos, covering them generously.
Sprinkle the shredded cheddar cheese evenly over the sauced burritos.
Bake in the preheated oven for 15-20 minutes or until the cheese is melted and the burritos are heated through.

To Serve:

Garnish the Wet Burritos with fresh cilantro and diced onions if desired.
Serve immediately and savor the saucy satisfaction of your homemade Wet Burritos!

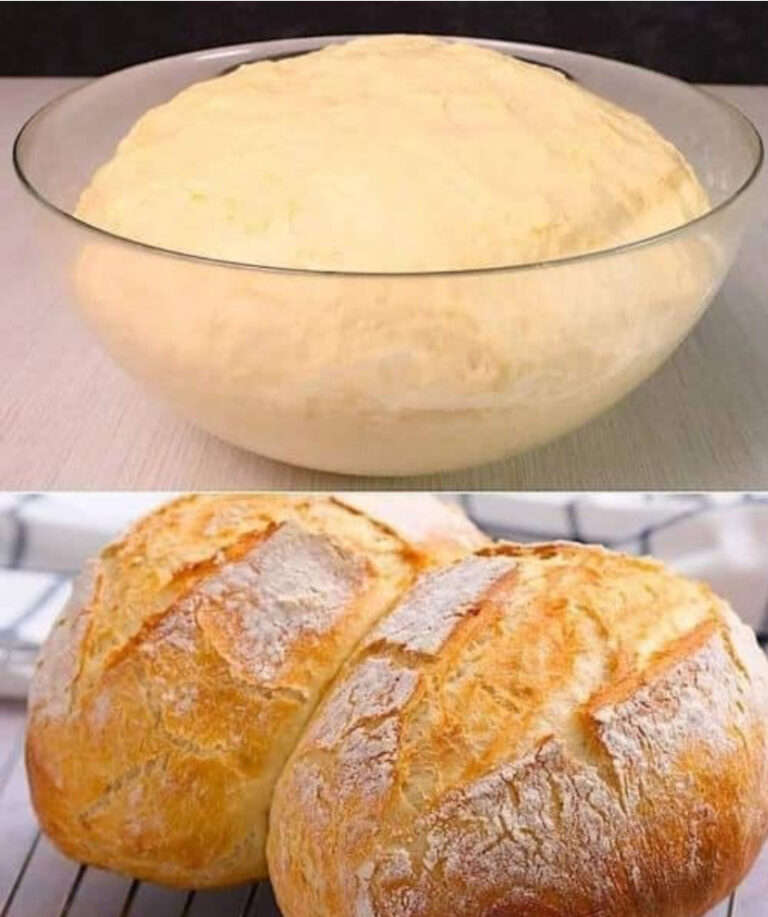
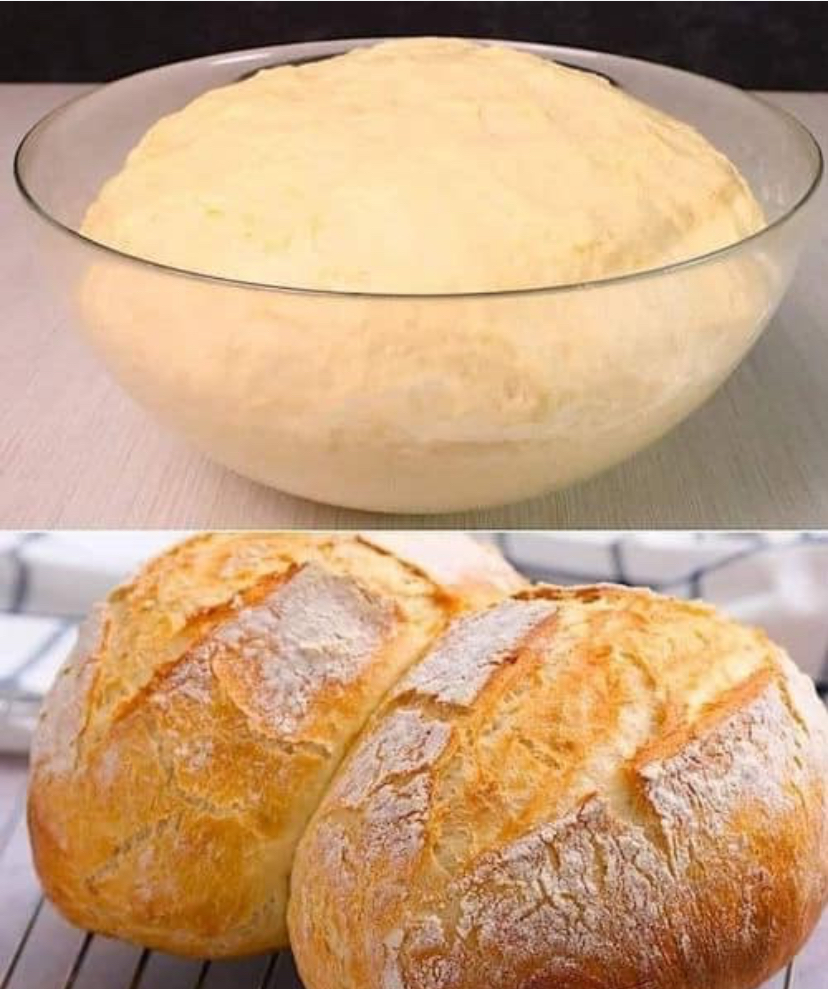
How to easily bake bread at home: soft and delicious!

0

Look no further for the best and easiest homemade bread recipe using just six simple ingredients! It’s the perfect white bread for sandwiches and  freezes really well!

There’s so much to love about this bread recipe, but if you had to pick the best parts, it would only require stable ingredients (no milk, eggs, or butter!). It’s super easy to prepare!Whether you’re a beginner or an experienced player, you can’t go wrong  and I’m sure you’ll love it!

No! You don’t need any special equipment to make this white bread recipe. If you have a stand mixer this will make the process easier, but you can also just use a mixing bowl and  wooden spoon and then knead  with your hands. You can use a bread maker for this recipe if you have one. However, depending on the capabilities of your machines, you may need to cut the recipe in half (to bake a loaf).

Ingredients:

°800 grams of soft wheat flour

°540 grams of water

°25g of salt

°7 grams of dry yeast

* Preparation:

Add the flour, dry yeast and salt  and mix well

Add the water and mix.

Cover the dough and let it rise for an hour.

Lightly flatten and fold the dough  (at least 3 times).

Place the dough in a hot Dutch oven, cover and bake at 250°C/480°F for 30 minutes.

After 30 minutes, remove the lid and continue baking for a further 20 minutes to brown the bread.

When the bread is done, remove it from the  oven and let it cool for at least an hour before slicing.

Enjoy your meal!

Lazy Peach Cobbler

0

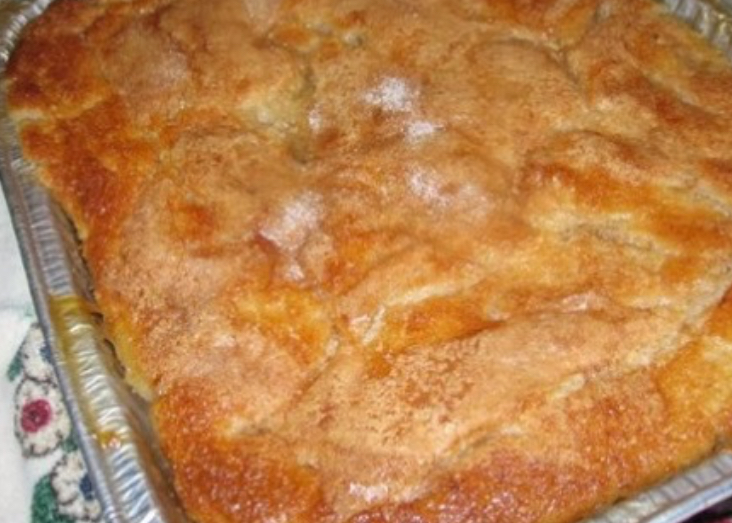
If you’ve never made a peach cobbler before, it may seem a little intimidating. This Lazy Man’s Pie Peach Cobbler recipe is one of the easiest recipes I have on my website (and one of the most delicious!) There are so many different peach cobbler recipes available on the internet. On my website alone, I have multiple recipes! If you’re looking for a traditional, standard, peach cobbler recipe, I highly recommend you check out my peach cobbler easy recipe. This recipe is fool-proof and delivers you an incredibly amazing peach cobbler as a result.

Ingredients:

1 stick butter or margarine
1 C. milk
1 C. sugar
1 C. flour
1 tsp. baking powder
Dash of salt
1 qt. fruit, sweetened (peaches, cherries, blackberries, etc)

Directions:

Melt butter in baking pan. Mix flour, sugar, baking powder, salt, and milk. Pour batter in pan on top of butter; cover with fruit.

Do not stir; batter will rise to the top as it bakes and absorbs the flavor of the fruit.

Bake at 350 degrees for 1 hour. Serve warm with whipped cream or ice cream.

Enjoy!

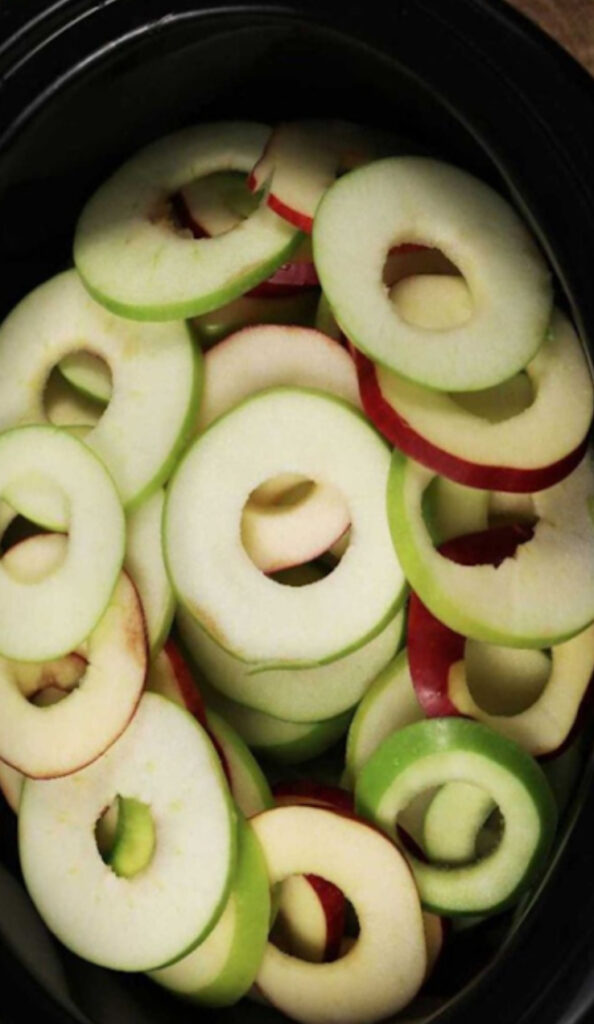
Put apple slices in slow cooker for a delicious dessert you won’t feel guilty eating

0

There’s a saying, “easy as pie,” but this slow-cooked layered apple cake takes the phrase to a whole new level. Not only is it a breeze to make, but it’s also lighter on the sugar, making it a more health-conscious choice. Ideal for both everyday treats and special occasions, including Pi Day on March 14th (3.14). Let’s delve into this delightful recipe, enhanced by the natural sweetness of apples, a hint of vanilla, and warming autumnal spices.

Highlight: If you don’t own an apple corer, don’t fret. Slicing around the core works just as fine. After all, it’s the taste that counts, not the shape!

Recipe

Servings: 8

Preparation Time: 15 minutes

Cooking Time: 2 hours

Total Time: 2 hours 15 minutes

Ingredients:

4 Red Delicious apples (cored and sliced into ¼-inch rings)

4 Granny Smith apples (cored and sliced into ¼-inch rings)

1 cup of apple juice

¼ tsp vanilla extract

1 tbsp butter

1 tbsp brown sugar

1 tsp ground cinnamon

1 tsp ground ginger

¼ tsp ground nutmeg

¼ tsp ground cloves

Vanilla ice cream (for serving)

Instructions:

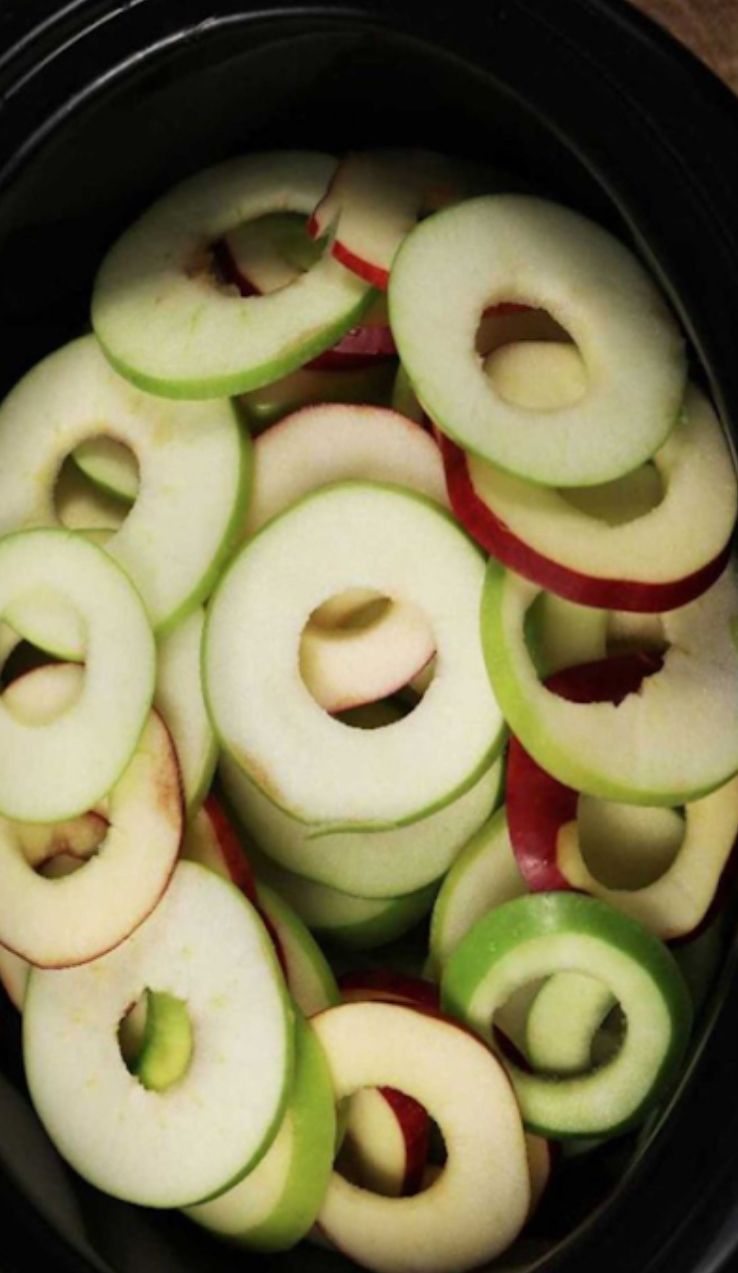
Layering: Begin by placing the apple rings in layers inside a 6-quart slow cooker.

Wet Ingredients: Add in the apple juice, vanilla extract, and butter to the slow cooker.

Spice Mix: In a separate bowl, mix the brown sugar and all the spices. Once combined, sprinkle this mixture over the layered apples in the slow cooker.

Cooking: Secure the lid of the slow cooker and set it to cook on high for 2 hours.

Serving: Once ready, serve the apple cake warm, paired with a scoop of vanilla ice cream.

Pro Tip: For a delightful crunch and added flavor, crumble cinnamon graham crackers over the top before serving!

This effortless and delightful apple cake offers all the flavors of a classic apple pie but with the ease and simplicity of a slow cooker. Enjoy!

Pumpkin Bread Recipe

0

I remember every fall when my grandmother would make the most amazing bread. Pumpkin was one of her favorites and mine too. This recipe makes 3 loaves of pumpkin bread which allows you to share with your friends and family or just keep all to yourself!
-I made these this morning for a group of men who come by for coffee with my husband. They all loved it, and had several slices each and took some home too. It was just wonderful slightly warm with coffee! I baked them in glass loaf pans, and needed to add 5 minutes of time for them to completely bake. The only ingredient I substituted was that I used Coconut oil instead of Canola as that is what I had available, and it was just delish!

Ingredients

2 cups all-purpose flour, spooned into measuring cup and leveled-off
1/2 teaspoon salt
1 teaspoon baking soda
1/2 teaspoon baking powder
1 teaspoon ground cloves
1 teaspoon ground cinnamon
1 teaspoon ground nutmeg
1-1/2 sticks (3/4 cup) unsalted butter, softened
2 cups sugar
2 large eggs
1 15-oz can 100% pure pumpkin (I use Libby’s)

Directions:

Preheat the oven to 325°F and set an oven rack in the middle position. Generously grease two 8 x 4-inch loaf pans with butter and dust with flour (alternatively, use a baking spray with flour in it, such as Pam with Flour or Baker’s Joy).

In a medium bowl, combine the flour, salt, baking soda, baking powder, cloves, cinnamon, and nutmeg. Whisk until well combined; set aside.
In a large bowl of an electric mixer, beat the butter and sugar on medium speed until just blended. Add the eggs one at a time, beating well after each addition. Continue beating until very light and fluffy, a few minutes. Beat in the pumpkin. The mixture might look grainy and curdled at this point — that’s okay.

Add the flour mixture and mix on low speed until combined.
Turn the batter into the prepared pans, dividing evenly, and bake for 65 – 75 minutes, or until a cake tester inserted into the center comes out clean. Let the loaves cool in the pans for about 10 minutes, then turn out onto a wire rack to cool completely.
Fresh out of the oven, the loaves have a deliciously crisp crust. If they last beyond a day, you can toast individual slices to get the same fresh-baked effect.
Freezer-Friendly Instructions: The bread can be frozen for up to 3 months. After it is completely cooled, wrap it securely in aluminum foil, freezer wrap or place in a freezer bag. Thaw overnight in the refrigerator before serving.

Getting ready to put this recipe on the stove like last year. My home seriously smells like Christmas afterwards!

0

The festive season is synonymous with heartwarming memories, and there’s no better way to set the scene than with an aroma that brings the essence of Christmas alive. The Easy Christmas Simmer Pot is a cherished recipe, rooted in the age-old custom of simmering aromatic blends to evoke feelings of joy and merriment. It’s more than just a scent; it’s an experience that captures the very soul of Christmas.

Pair this aromatic experience with a glass of spiced apple cider or mulled wine. Their flavors are a harmonious match with the simmer pot’s aroma. And what’s a holiday gathering without treats? Serve up a platter of gingerbread cookies or a festive charcuterie board laden with cheeses, meats, and assorted nibbles. Every element comes together to create an unforgettable sensory delight.

ADVERTISEMENT

Easy Christmas Simmer Pot Recipe

Ingredients:

1 fresh orange, sliced

2 aromatic cinnamon sticks

A sprig from a Christmas tree (or fresh rosemary as a substitute)

A handful of vibrant cranberries

Sufficient water to cover the mix

Special Tip: Most Christmas tree lots give away tree clippings for free. Grab some to add authenticity to your simmer pot!

Method:

In a spacious pot or slow cooker, assemble all the ingredients.

Drench the mix with water until everything is submerged.

For stovetop, maintain a gentle simmer on low heat. If using a slow cooker, set it to low.

The ingredients will meld together as they simmer, diffusing a wonderful holiday scent. Stir now and then for even aroma release.

As the day progresses, add more water when needed to ensure it continues to simmer without running dry.

Relish in the warm, comforting aura that the Easy Christmas Simmer Pot brings to your home.

Important: Always keep an eye on the simmer pot. It should never be left on its own. Top it up with water when required, and feel free to play around with ingredients – perhaps add star anise, vanilla beans, or other spices to make it uniquely yours.

Invite your family and friends, savor the festive warmth, and let the Christmas Simmer Pot wrap everyone in its enchanting spell. Here’s to a season filled with love, laughter, and unforgettable aromas! 🎄✨

Broccoli cheddar soup recipe

0

THE BEST broccoli cheese soup there ever was! So creamy, so cheesy.
Healthy broccoli cheddar soup packed with carrots, broccoli, garlic, and cheese.

Ingredients:

1 large head of broccoli, chopped into florets

1 small onion, diced

2 cloves of garlic, minced

4 cups of chicken broth or vegetable broth

2 cups of shredded cheddar cheese

1 cup of heavy cream

2 tablespoons of butter

Salt and pepper to taste

Instructions:

Melt the butter in a large pot over medium heat. Add the onion and garlic and sauté until the onion is translucent, about 5 minutes.
Add the broccoli and broth to the pot and bring to a boil. Reduce the heat to a simmer and let the soup cook for about 10 minutes, or until the broccoli is tender.

Using an immersion blender or a blender, puree the soup until smooth.
Stir in the heavy cream and cheddar cheese until the cheese is melted.
Season with salt and pepper to taste.

HONEY GARLIC RIBS

0

These honey-glazed ribs are easy to make. Delicious served either hot or at room temperature so this is a great recipe for a casual dinner party that you can make ahead. The sauce is great served over rice.

Ingredients

4 pounds pork spareribs

½ cup honey

¼ cup soy sauce

¼ cup distilled white vinegar

2 tablespoons brown sugar

2 cloves garlic, minced

1 teaspoon baking soda

1 teaspoon garlic salt

Directions

Preheat the oven to 375 degrees F (190 degrees C).
Slice ribs into individual pieces. Combine honey, soy sauce, vinegar, brown sugar, and garlic in a large bowl; stir until honey and sugar are completely dissolved, then stir in baking soda. The mixture will begin to foam. Transfer ribs to the bowl and turn to coat.

Cover a cookie sheet with foil; arrange ribs meat-side up on the prepared sheet. Pour excess sauce over ribs and sprinkle with garlic salt.

Bake in the preheated oven for 1 hour, turning every 20 minutes.

Enjoy!

Potato fritters

0

These potato fritters are golden, crispy and savory and simply divine as an appetizer or light meal. Easy to make and packed with flavor!
These potato fritters make the perfect appetizer or light meal. They also keep well and are almost as good served cold as they are served hot.

They’re also known as potato latkes and are just all round delicious.
For more easy fritters check out our delicious zucchini fritters too.

What goes with potato fritters? They are wonderful served with some sour cream or Greek yogurt. We also love them with some garlic dip served on the side.

Can they be made ahead? They are at their best when hot, crispy and fresh! However, you can transfer them straight from the frying pan to the oven and keep them warm at 200°F (100°C) for up to 30 minutes before serving.

How to store them? Keep them stored in the fridge for 3-4 days. They can be reheated in the air fryer or oven. Heat the oven to 350°F and reheat for 5-10 minutes until heated through. Reheating them in the microwave also works but they won’t stay as crispy.

Can you freeze them? They are freezer friendly for up to a month. Thaw overnight in the fridge and then reheat as usual.

Ingredients :

°800 grams of potatoes

°2 eggs

°100 grams of cooked pork

°100 grams of cheese

°1/2 onion

°parsley

°salt

°Pepper

°50g (12 cups) flour

°olive oil

PREPARATION:

Cut the potatoes and put them in a bowl. Add the eggs, cooked ham, cheese, onion, parsley, pepper, salt and flour and mix everything well.

Pour the olive oil into the pan and start adding the mixture by flattening it with a spoon.

Fry the pancakes until golden brown on both sides.

More recipes like this:

An easy recipe for potato pancakes

Sicilian potato pancakes

Twice Baked Potato Casserole !