From the bustling markets and humble farms of the Amish community comes a cuisine renowned for its simplicity, honesty, and hearty flavors. Their dishes, deeply rooted in tradition, often transport us to a time of pure, uncomplicated joy, where food was made from the heart and enjoyed with the family. One such timeless classic is the Amish Hamburger Steak Bake. A dish that seamlessly blends the tenderness of hamburger steaks with a rich, velvety gravy, it encapsulates the very essence of comfort food.
My memories associated with this dish are vivid and precious. I can still recall those Sunday afternoons when my grandmother, with her ever-present smile and apron, would labor with love in her kitchen. The tantalizing aroma wafting through the home, signaling that a feast was soon to be upon us. Each bite of that juicy hamburger steak, drenched in that creamy mushroom sauce, was a piece of home, a slice of warmth, a touch of grandmother’s love.
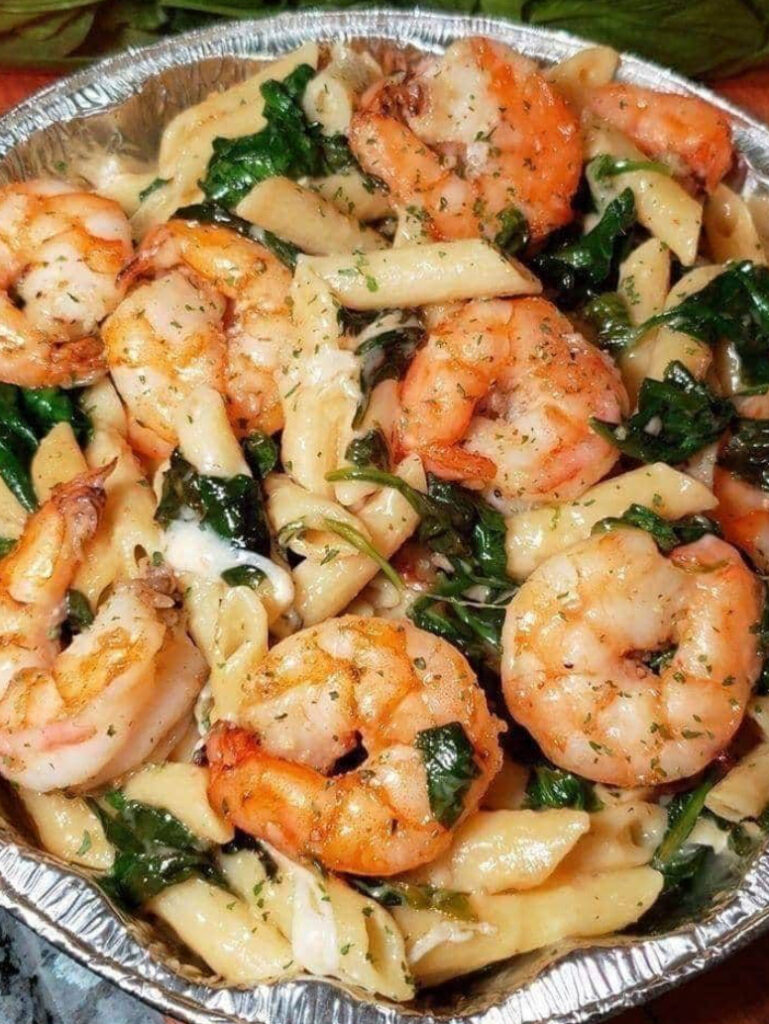
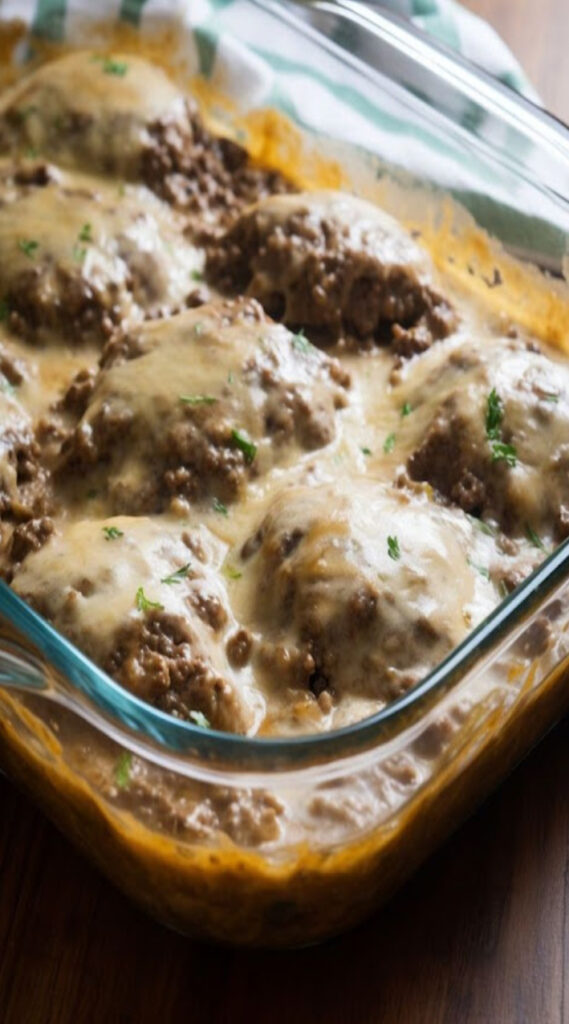
Amish Hamburger Steak Bake
Ingredients:
2 pounds ground beef
1 1/2 cups crumbled saltine crackers (roughly one pack)
1 cup milk
1/2 teaspoon Italian herbs
1/2 teaspoon onion powder
1/2 teaspoon garlic powder
1/4 teaspoon cayenne pepper
Flour for dredging
Salt and freshly ground pepper to taste
For the Gravy:
1 1/2 cups milk
2 cans (10.75 oz. each) condensed cream of mushroom soup
Instructions:
Preheat your oven to 350°F. Grease a 9×13-inch baking dish.
In a large mixing bowl, combine the ground beef, crumbled saltine crackers, milk, Italian herbs, onion and garlic powder, cayenne pepper, salt, and pepper. Mix well.
Mold the mixture into thick hamburger steaks and lightly coat them in flour.
In a skillet over medium-high heat, sear each steak until browned on both sides. Once browned, place them in the prepared baking dish.
In a separate bowl, blend together the cream of mushroom soup and milk, ensuring a smooth consistency. Pour this mixture over the steaks in the baking dish.
Cover the dish with foil and let it bake for about 30 minutes. Ensure that the steaks are cooked through and that the gravy has a nice, bubbly consistency.
Let the dish cool slightly before serving. Feel free to add your choice of garnish.
The Amish Hamburger Steak Bake stands as a testament to the beauty of rustic, home-cooked meals. Its uncomplicated list of ingredients and method of preparation emphasize the importance of quality over complexity. Every forkful takes you on a nostalgic journey, reminding you of family, love, and those cherished moments around the dining table. So, set aside this recipe, gather your dear ones, and relish in the heartwarming goodness of an authentic Amish meal.